Why it works: Build Your Trading Bot is a powerful, action-oriented phrase. Combines platform and tool with automation intent.
Are you an active trader on Zerodha Kite looking for a competitive edge? In today’s fast-paced online trading environment, manual processes can be a significant drag. From repetitive daily logins, including the often cumbersome 2FA automation for security, to constantly monitoring market data and executing trades, the demand for efficient trading has never been higher. Missed opportunities and emotional decisions often stem from the sheer volume of manual tasks involved in your trading workflow.
Enter Robotic Process Automation (RPA). This powerful technology is transforming industries, and now, it’s set to revolutionize how retail traders interact with their platforms. This full guide will specifically focus on UiPath, a leading RPA tool, to demonstrate comprehensive Zerodha Kite automation.
We’ll dive deep into creating your very own trading bot capable of end-to-end trading automation. This includes mastering Zerodha login automation (even navigating those tricky 2FA prompts), seamlessly monitoring real-time market data, applying your specific trading strategy, and automating order placement directly on Kite. Discover how this robot trading approach can enhance your precision, reduce manual effort, and free up your time for deeper market analysis.
Whether you’re exploring algo trading for the first time or aiming to streamline your existing trade setup, this article is your blueprint. Unlock the potential of UiPath automation to redefine your trading experience on Zerodha Kite.
Pre-requisites
Before we dive into the topic let’s discuss the main pre-requisites required:
- Windows machine
- uiPath account
- uIPath studio community edition
- Basic programing skills
Installation and Configuration
We begin creation of workflows with UiPath Studio Community Edition, which can be downloaded from the dashboard of the UiPath platform after account creation. The installation is easy.
After creating an account in the portal, log in to the portal and click on the Download centre.
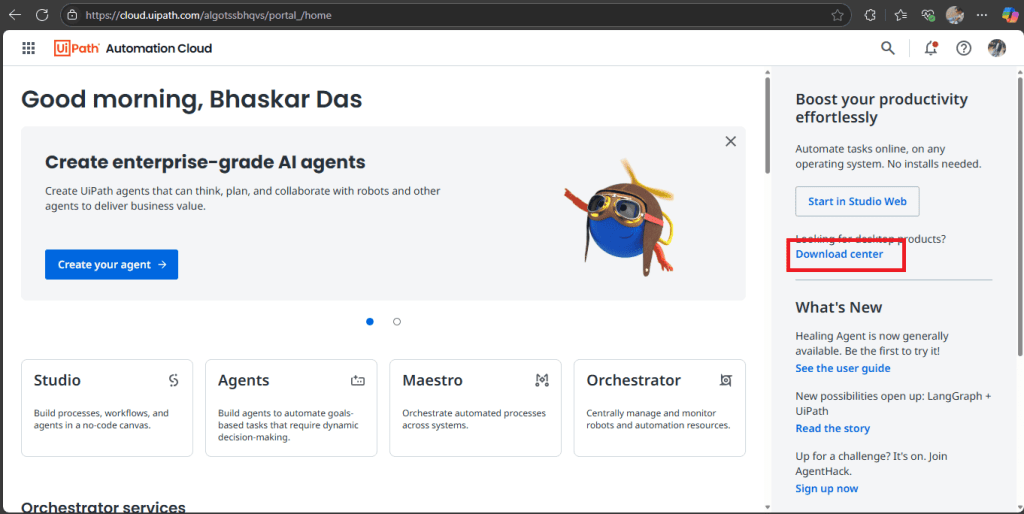
image source: UiPath UiPath portal dashboard
You will find UiPath Studio Community Edition under the Download section. The download will take some time, as it is around 650 MB.
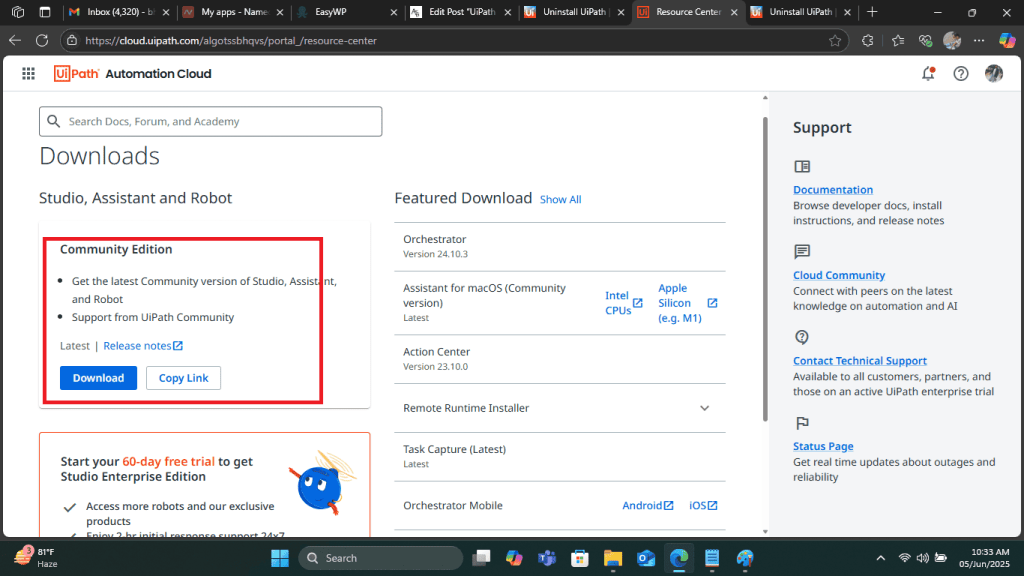
image source: UiPath UiPath Download Resource Center
The installer will provide two options. one with default settings and another with advanced settings. Default settings will automatically install the software in a predefined installer folder. However, I recommend exploring the custom option.
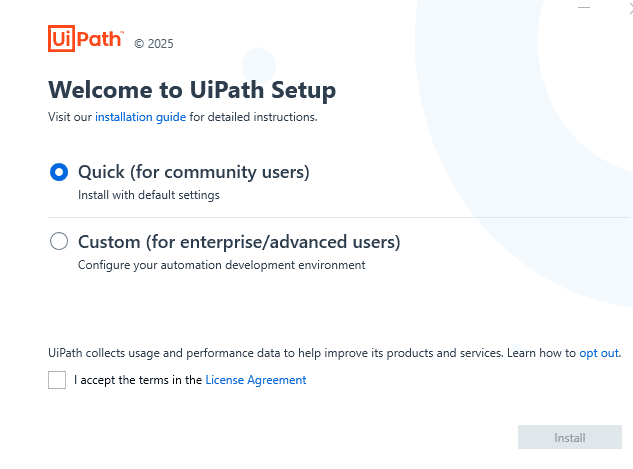
Initial Installation Window
The custom option allows users to select advanced features and customise several others. On the next screen, select Install for all users on this computer and click Choose Packages.
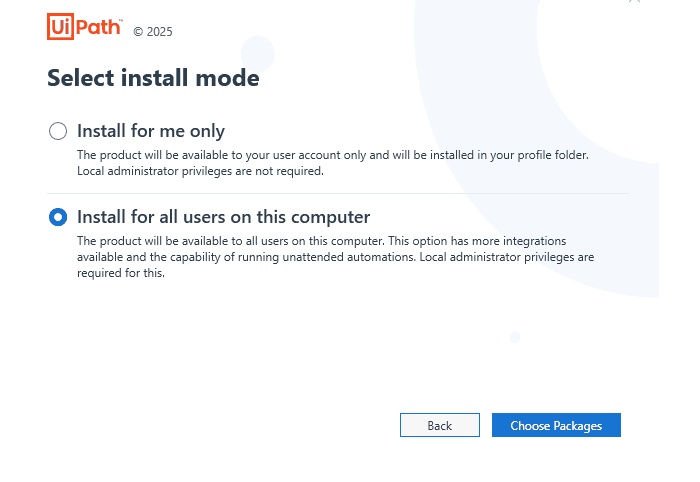
Install for all the users
Over the next window you will be given the choice. Select Automation Developer and click Advanced Settings.
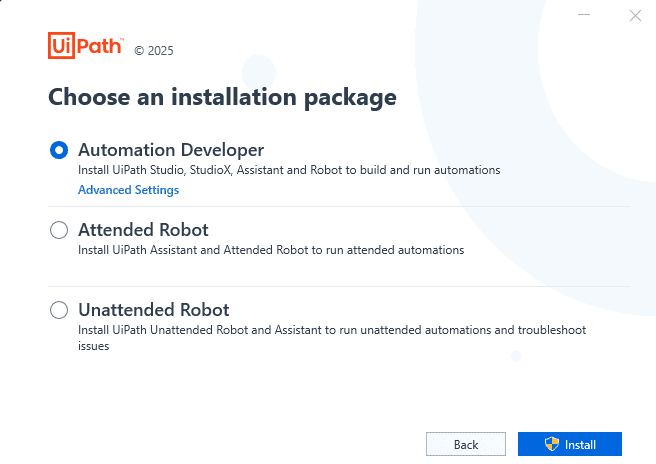
Automation Developer Settings
Here you will be able to set your desired installation path. Click on Extensions and select all the Addons/Addins for Chrome, Edge, Firefox, Javascript and Excel. Finally, click on Install.
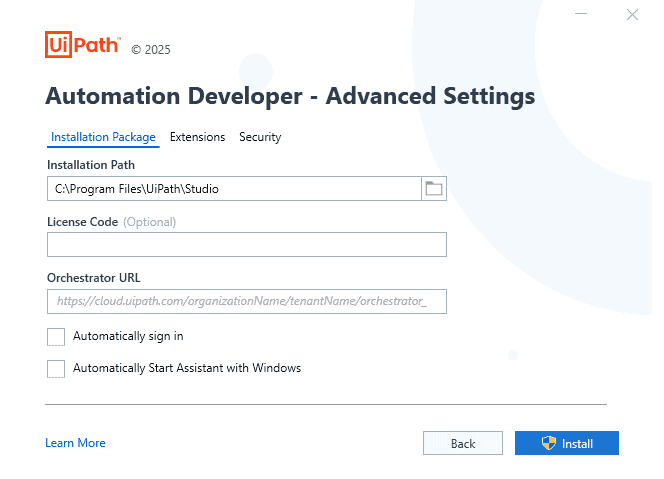
Custom Installation Path
Depending on your system, the installation process might request your permission for various configurations and may also ask you to close any open browsers. Allow all the permissions.
After the installation, when you open the software, you might get a window as shown below. Click on Sign in.
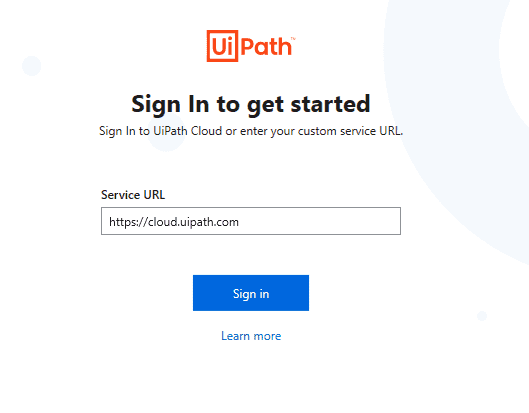
Sign in
A browser window will open for signing and then revert back to the software. We have successfully completed the installation.
Project Setup
A dashboard will open with so many overwhelming options, don’t panic and just select Process under New project.
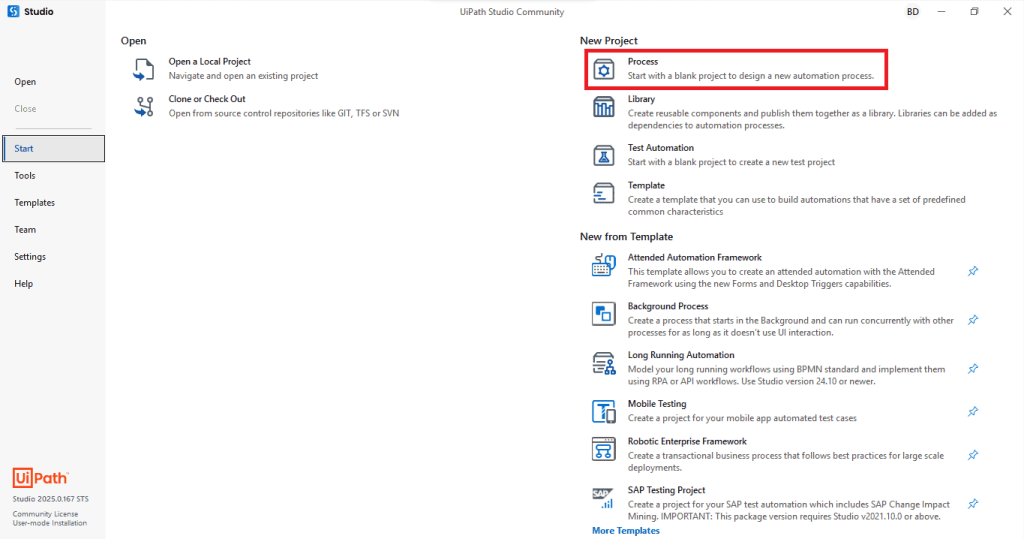
Initial UiPath Project Setup Window
Give a suitable name to the project and optionally you can provide the installation folder as well.
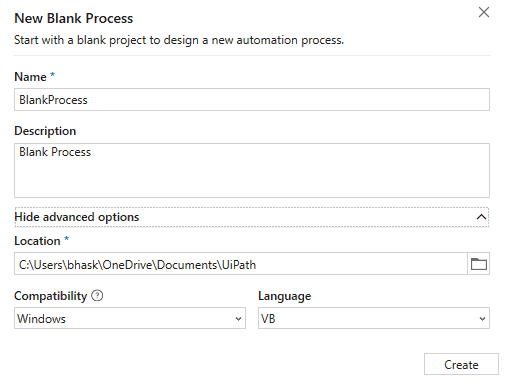
Project installation Path
After you create a new project, you will receive an empty Project window.
Empty Project Window
Next, we need to manage packages for the project. You will find a small icon at the top menu panel as shown here.
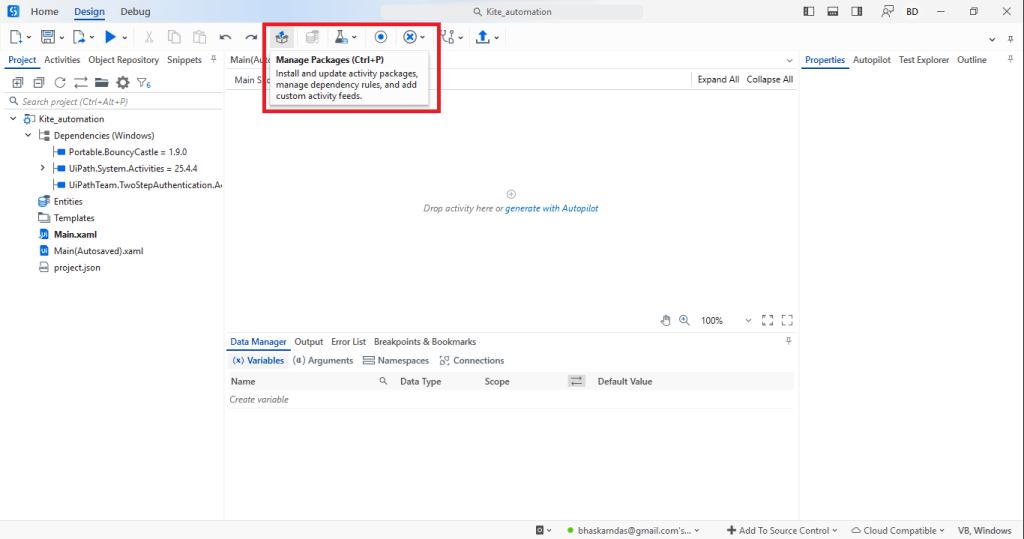
Manage Packages icon
The Manage Packages windows will by default open Project Dependencies.
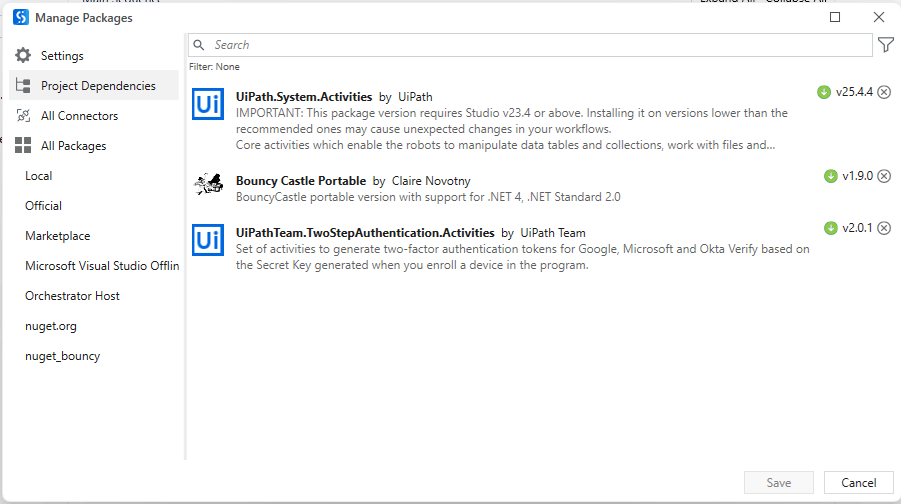
Project Dependencies
We will select All Packages and then remove all the filters to search for the necessary packages
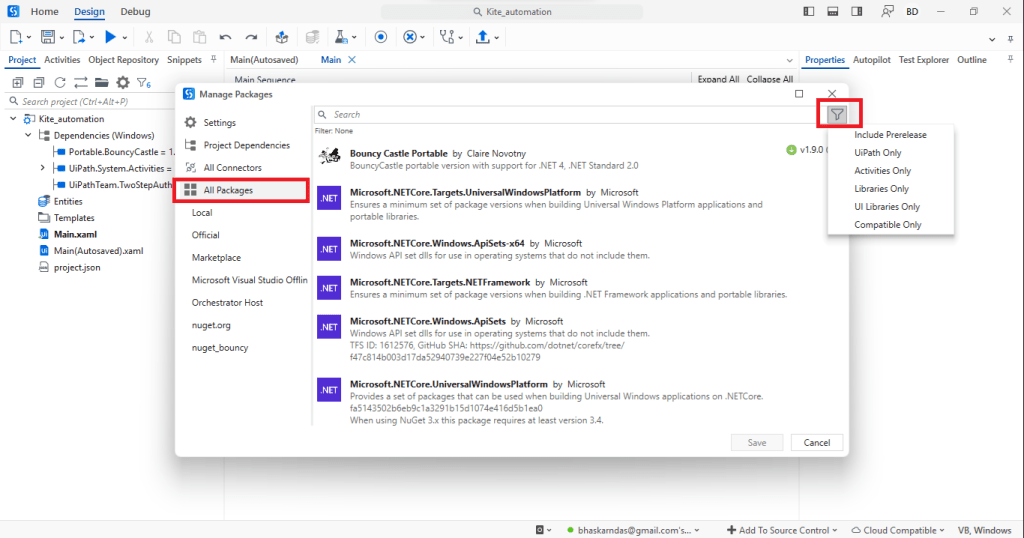
First Package we require is Bouncy Castle Portable. Just click on the blue arrow on the right side of the package and click on Save. It will take some time to install.
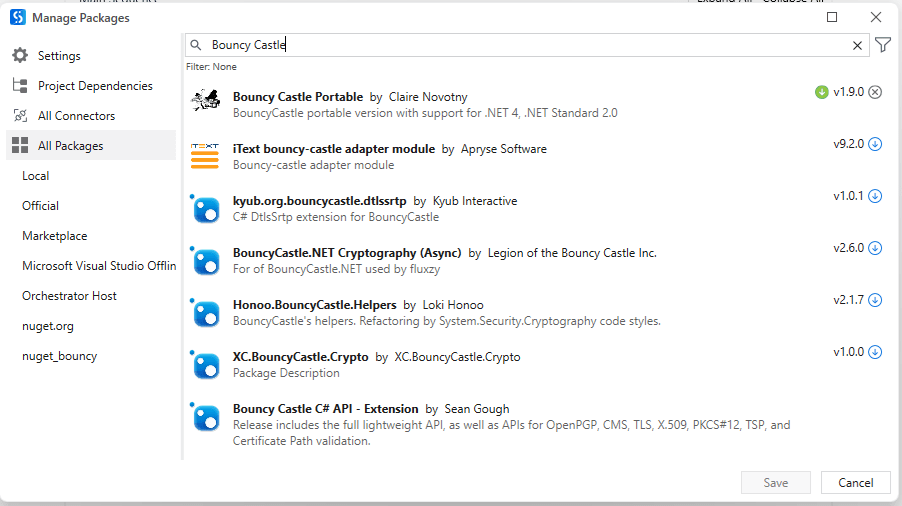
Bouncy Castle Portable Package
Likewise, we will also install TwoStep Authentication package and follow the same step as above.
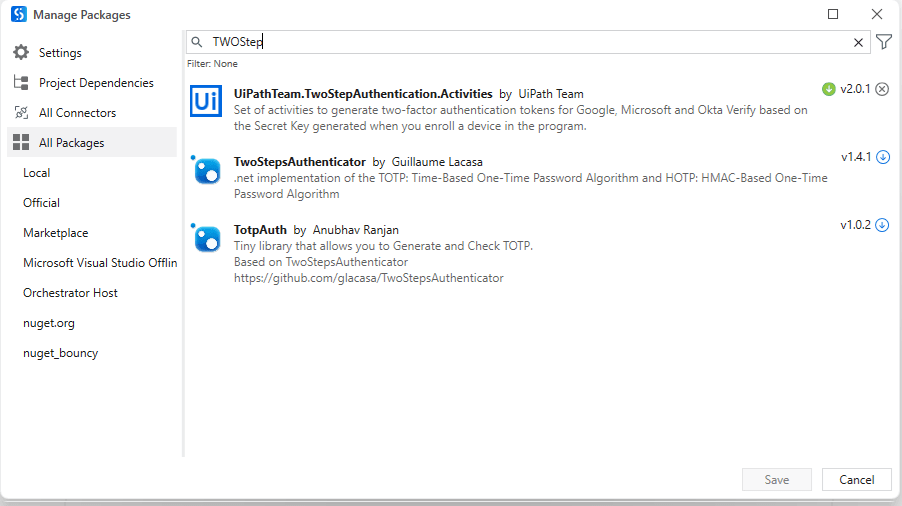
Two Step Authentication Package
Viola we are all setup and ready to go. In our next article we will cover the flowchart and process flow creation.
Disclaimer: Automating live financial transactions carries inherent risks. Always conduct extensive testing in a paper trading environment and ensure full compliance with Zerodha’s (or any broker’s) Terms of Service. This guide is for educational purposes to illustrate RPA capabilities.


Leave a Reply